Basic HTML Version


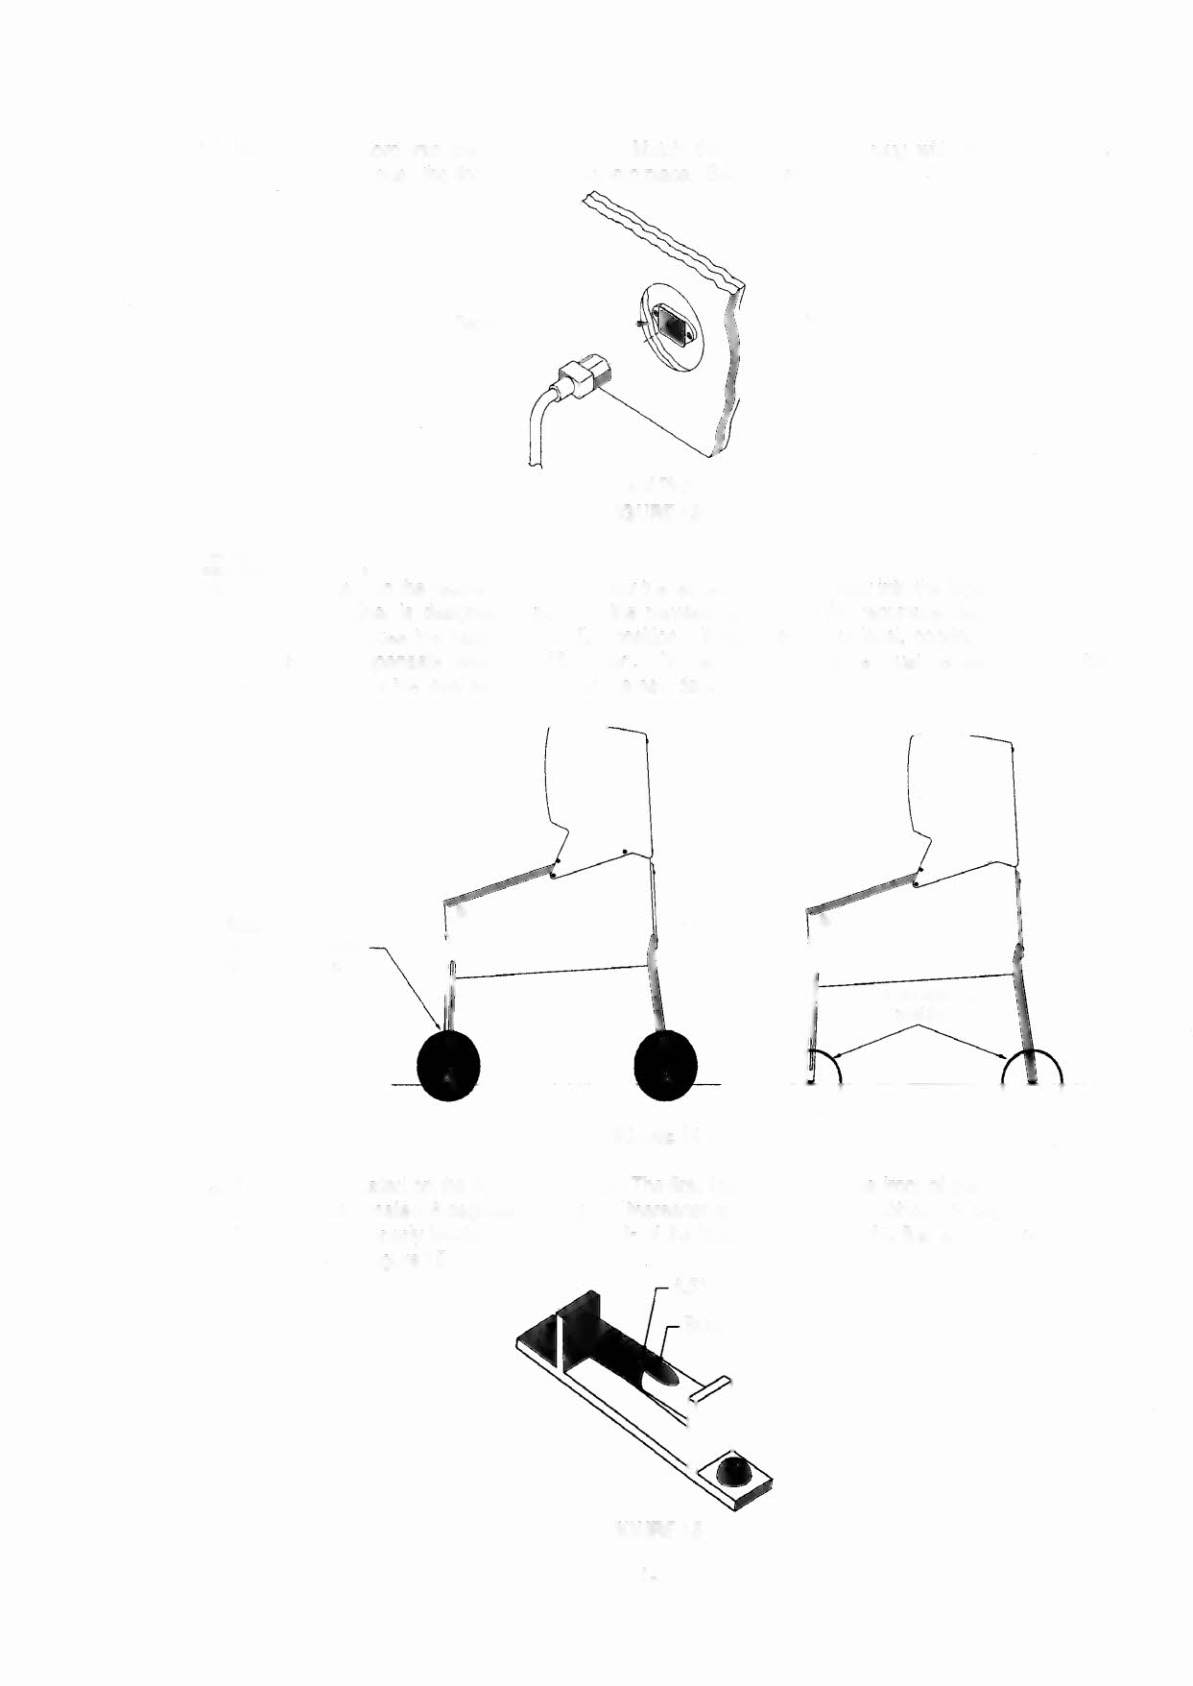
17. Plug the line cord into the game cabinet. Match the prongs on the plug with the holes in the
receptacle, and push the line cord securely into place. See Figure 13.
Receptacle
Line Cord and Plug
FIGURE 13
LEVEL THE GAME
18. Move the game to the desired location. Screw the leg levelers all the way into the legs. If the floor is
level, the cabinet is designed to position the playfield at exactly the recommended
6-1/2
degree
angle. This places the game in a FIXED position. If the floor is not level, continue to adjust the
levelers to compensate (see Step 18 belOW). On carpeting, the game must be allowed to settle
overnight. Check the level and pitch again the next day. See Figure 14.
Raise levelers
only to compensate \
"'un •••• __
\
Correct starting
position
FIGURE 14
19. The level is located on the right shooter rail. The first line, (closest to the front of the game). on the
level is approximately 6 degrees. Every line thereafter is approximately another
1/2
degree of pitch.
The game is properly leveled when the NOSE of the bubble is between the first and second line on
the level. See Figure 15.
6.5
0
Indicator
FIGURE 15
1-7