Basic HTML Version


REMOVING MINI PLAYFIELD
1. Turn Off power to the game.
2. Unlock the coin door, remove the front molding
and carefully remove the playfield glass.
.•
3. Lift the playfield.
Unplug the following
connectors relating to the Mini Playfield. Be sure to
label
both ends of these connectors as you
remove them, this makes re-installation easier.
The connectors are for the G.I., flashlamp, PC
board, motor, flipper/E.O.S. switch, and the lamp
matrix. Lower the playfield.
..
Note:
To ensure proper connections. when
re-installing the Mini Playfield, be sure to match the
wire colors as well as the labels
4. Remove the top rear mountains.
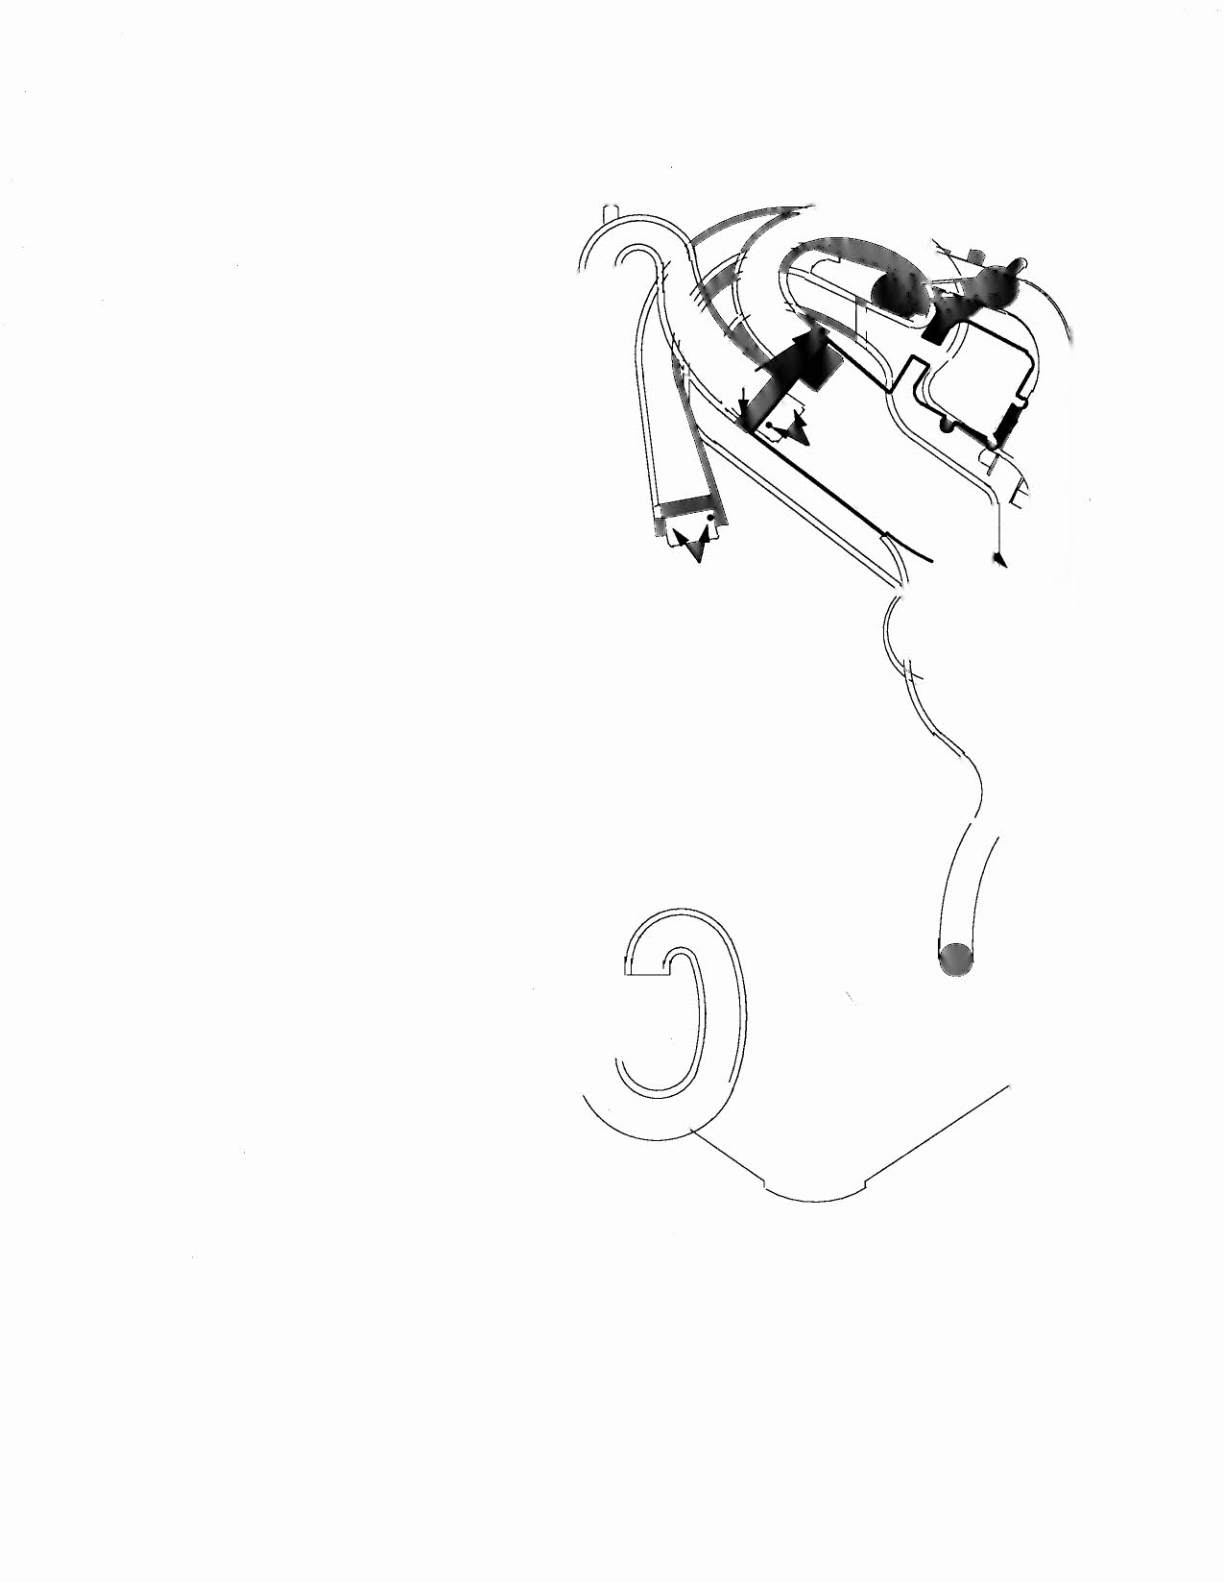
5. Remove the screw holding the Waterfall Ramp to
the playfield backboard. (see diagram)
6. Remove the two screws holding the Dual Switch
Gate Assembly. (see diagram)
7. Remove the screws holding the Waterfall Ramp
to the Mini Playfield. The Waterfall Ramp is now
loose enough to move. (see diagram)
8. Remove the wire Shooter Ramp and the
flashlamp next to the ramp. (see diagram)
9. Remove the screws securing the Lower to Upper
Ramp to the Main playfield. (see diagram)
10. Remove screws holding the lower end of the
Upper to Lower Ramp from the Main Playfield post.
(see diagram)
11. Remove the four nuts holding the Mini Playfield
in place. (see diagram)
12. Carefully , lift the Mini Playfield off the Main
Playfield.
5
8
11
i
10
WHITE WATER 1-39