Basic HTML Version


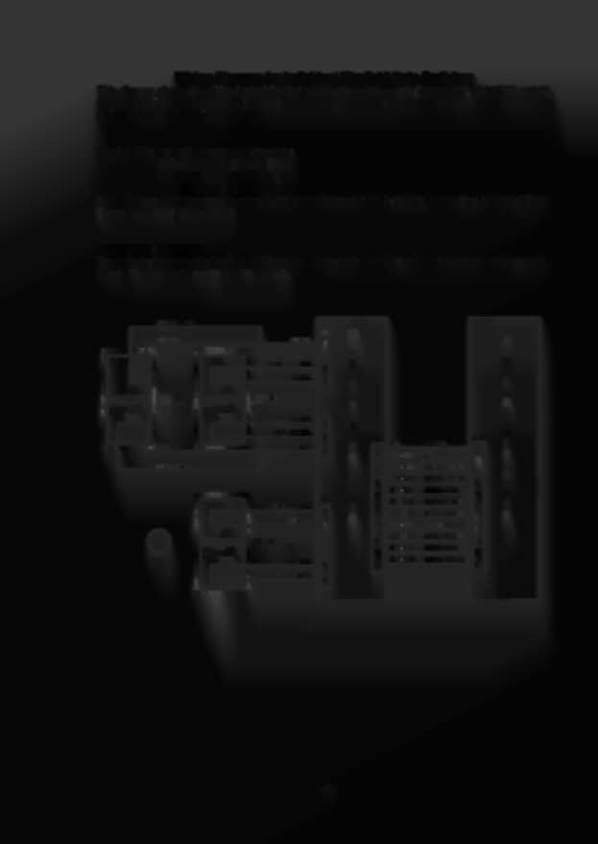
Wiring Diagram for Individual Playfleld Opto SwHches
This diagram shows the wiring for individual playfield opto
switches
only (except
#41,
Shield Hit switch).
See
the previous page for the Ball Trough Assembly aplo switches wiring diagram and page
3-23
for the
Shield Hit opto switch wiring diagram.
The Individual playfleld opto switches are:
Switch #46 Left Ramp Enter
Switch #47 Right Ramp Enter
Switch #51 Shield Popper 1
Each of these switches uses a green Individual LED board (PIN
A-16908).
and a blue Individual Photo
Transistor board (PIN
A-16909).
OPTO SWITCH OPERATION:
The ball rolls between the Individual LED board and the Individual Photo Transistor board and breaks the
beam. The broken beam 'makes' the switch.
r-
I
I
I
I
I
I
I
I
I
I
I
I
:
I
I
I
I
I
I
I
I
I
I
I
L
GROUNO BLK
,:J2.
10
GRY-VlO
GRY-'I1O
P
1
- ------
-- --
:::-"1
r-------
-- -- - ---..,
0
0
I
I
I
I
........
I
..•.•...
I
P
W
I
I
GROUND BLK
I
9
E
I
I
I
T
I
I
s
I
I
GRY-BlU
R
I
I
2
0
I
II
l-
I
I
I
I
SWITCH #47
I
!
~,w'U~
I
0
=-11
~~R RAMP
I
=-11
s
I
: EHlER
J2
I
R
--7\,
I
-~
I
r-
W
I
I
ORG-8LU
I
2
I
--- --------gj
ORG-\10
I
I
I
I
I
+12V GRY-Ya
V
I
I
T
I
9
JJ
-!2.!.§.
I
I
E
L______________
J
C
,---
BLK
GROUND
ORG-\1O
1
22
1
R
I-
H
GRY-'t'EL
+12V
2
11
+12V GRY-YEL
GRN-BlK
SWITCH COL 5
J
5
B
B
GRN-WHT SWITCH COL 4
0
4
4
0
,..--------------.,
WHT-VlO SWITCH ROW 7
18
A
I
I
J6
A
6
I
I
WHT-BLU SWITCH ROW 6
I
...
-
I
GROUND BLK
-
R
7
17
R
I
I
I
J
WHT-GRN SWITCH ROW s
0
I
I
0
8
16
:
I
CRY-BRN
I
1
WHT-'t'EL
SWITCH ROw 4
8-
II
9
15
WHT-ORG SWITCH ROW 3
SWITCH
lSI
10
14
=-11
SHIEll) POPPER 1
WHT-RED SWITCH ROW 2
11
13
EXAIIPLE
-~
WHT-BRN
WHT-BRN SWITCH ROW 1
5
12
12
I
'--
-
I
+12V CRY-Ya
I
4
I
'- __ ___________ J
-
3-21