Basic HTML Version


486
\g
0 000 0 0 0
71
"1+,I~'I' ~I
~~~~~~~t~~~~~~~~~~
ADD 10K
~ IJ~
IJ
~STO"'
~I~
LJ ~
¢ ~ ~ ~
•• l.
=====IC :.
~ll
II
>C
2
II
LJ
JUMPER PIN:
:0
S~S
.Q0
S..[
~O
39 & 40 ON
...•
1:; ~
=;~.:; ..,
SOLDER SIDE
° ° ° °
IOJa
o
o
J11, J14, J16 & J18 REMOVED.
J12, J13, J1S & J17 CONNECTED
IOJ2.
~
~
~
CHANGE TO
4.7K
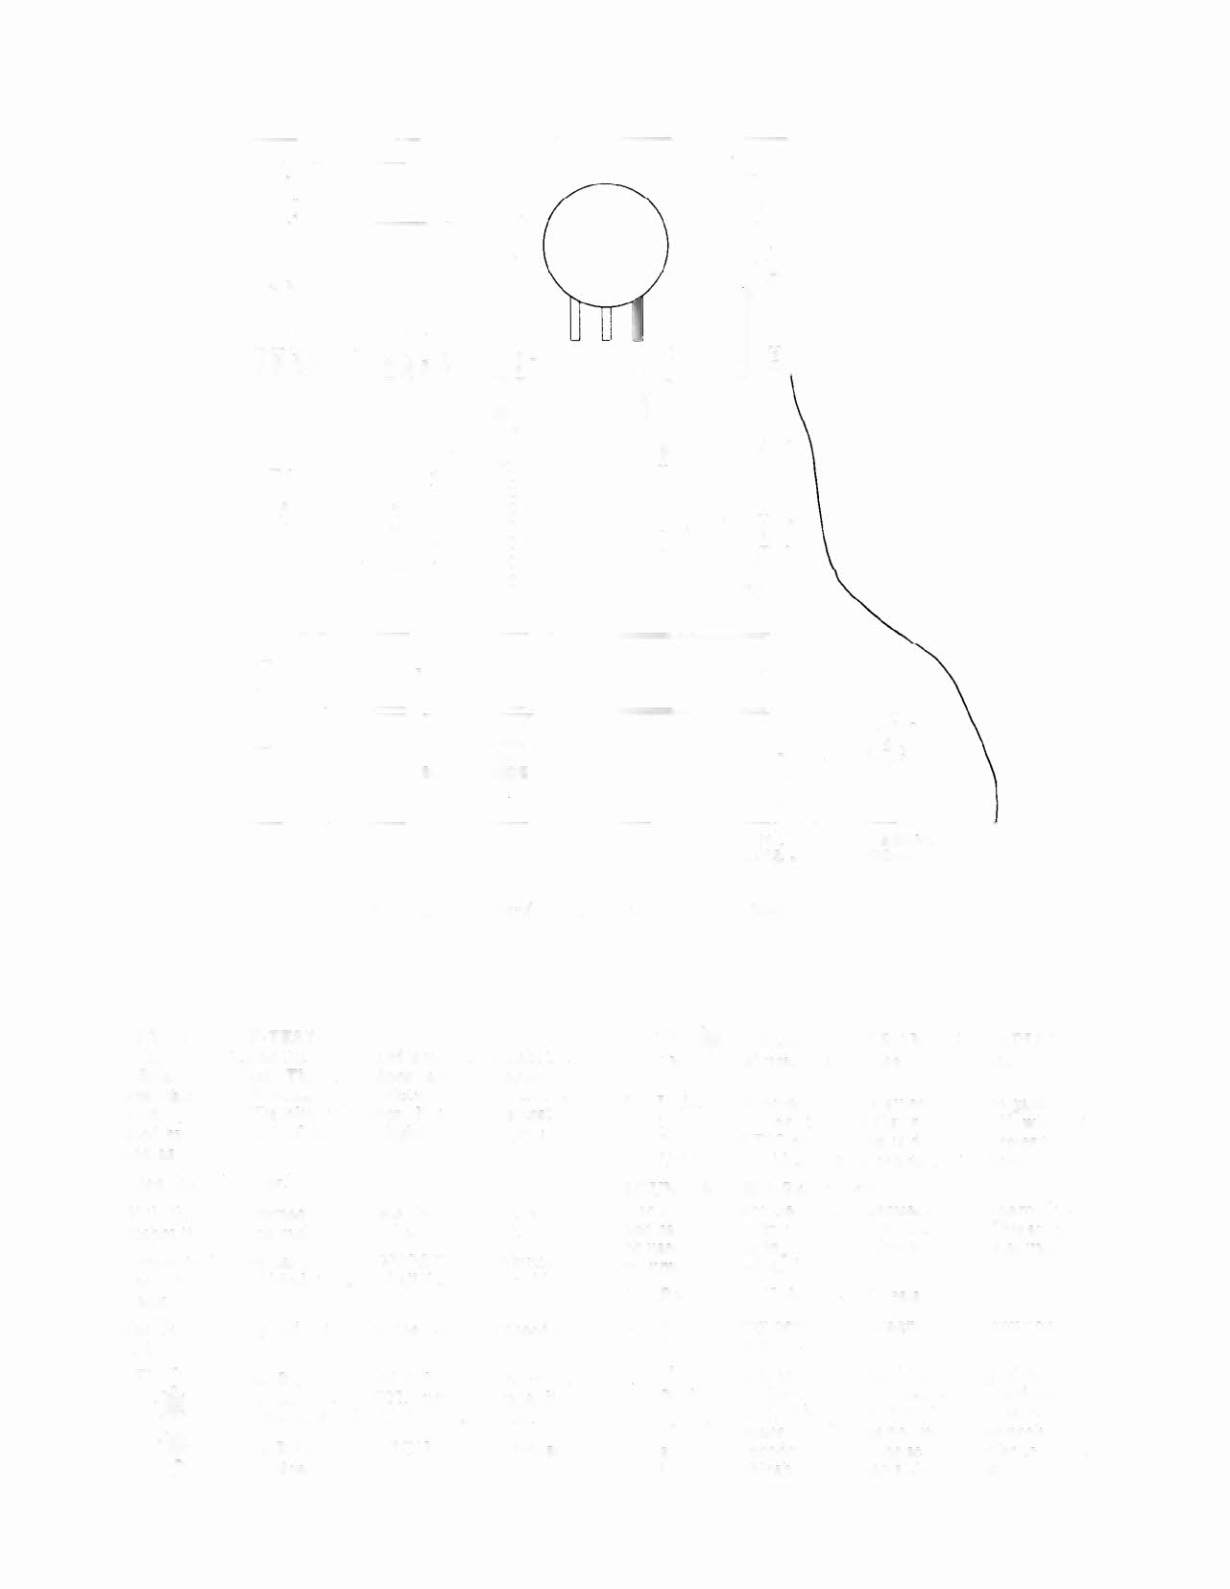
Figure
9.
Sound Board Modification and ROM Jumper Details
CPU BOARD SELF-TEST
A pushbutton switch on the CPU board is used to initiate the
CPU Board Self-Test. The coin door must be open to
perform this test. Successful completion of the test is
indicated by the LEOs blinking twice. Failure of a test is
indicated by one or both of the LEOs lighting and staying lit.
Proceed as follows:
1. Open the coin door.
2. With the game turned ON, locate the DIAGNOSTIC
pushbutton on the right side of the CPU board.
3. Momentarily depress the DIAGNOSTIC pushbutton.
The LEOs should blink twice and all displays should go
blank.
4. For the following indications of the LEOs, proceed as
follows:
OFt-
0
Indicates ROM/PROM failure; one or more
ON _4*:..ofICI7, IC20, IC21, IC22, and IC26 are faulty.
)''1'',
Isolate the faulty chip(s) by substitution.
ON
-:«'Indicates RAM failure (lC13 or ICI6), replace
OFF
0
the CPU Board.
22
ON -•• - Indicates CMOS RAM (ICI9) or PIA I (lCI8)
ON
failure. Replace the CPU Board.
-,
'
5. If the LEOs come on and stay on when the game is first
turned ON or the LEOs remain off when the
DIAGNOSTIC pushbutton is depressed, refer to Table
13 in the troubleshooting charts that follow .
SOUND BOARD SELF-TEST
The Sound Board Self-Test exercises Sound Board circuitry
and causes a continuous sound to be emitted. This sound can
be used for checking amplifier circuitry and for adjusting the
volume. Proceed as follows:
1. Perform CPU Board Self-Tests:
2. Momentarily depress the diagnostic pushbutton on the
Sound Board.
3. If no sound is produced check the setting of the volume
control and the power and speak:er connections to the
Sound Board. Also check that the jumper connector
IOP4 is in place. If this does not resolve the problem or if
a sound is produced from the self-test, refer to Table 14
in the troubleshooting charts that follow.