Basic HTML Version


CYCLONE
GAME CONTROL LOCATIONS (Continued)
The CPU Diagnostic switch (SW 2) is the lower switch (of the two switches mounted on the left edge
of the CPU Board) near a large, socketed microprocessor chip. This switch initiates the Memory Chip
Test explained in the Test/Diagnostic Procedures.
The Sound Diagnostic switch (SW 1) is the upper switch of the two mounted on the left edge of the
CPU Board. This switch initiates the Sound Section Test. Refer to the Test/Diagnostic Procedures.
PINBALL GAME ASSEMBLY INSTRUCTIONS
1.
Open the shipping container; remove all cartons, parts, and other items, and set them aside.
2.
Place cabinet on a support and attach rear legs (after installing leg levellers), using leg bolts. Leg
levellers and leg bolts are both provided among the parts in the cash box.
3.
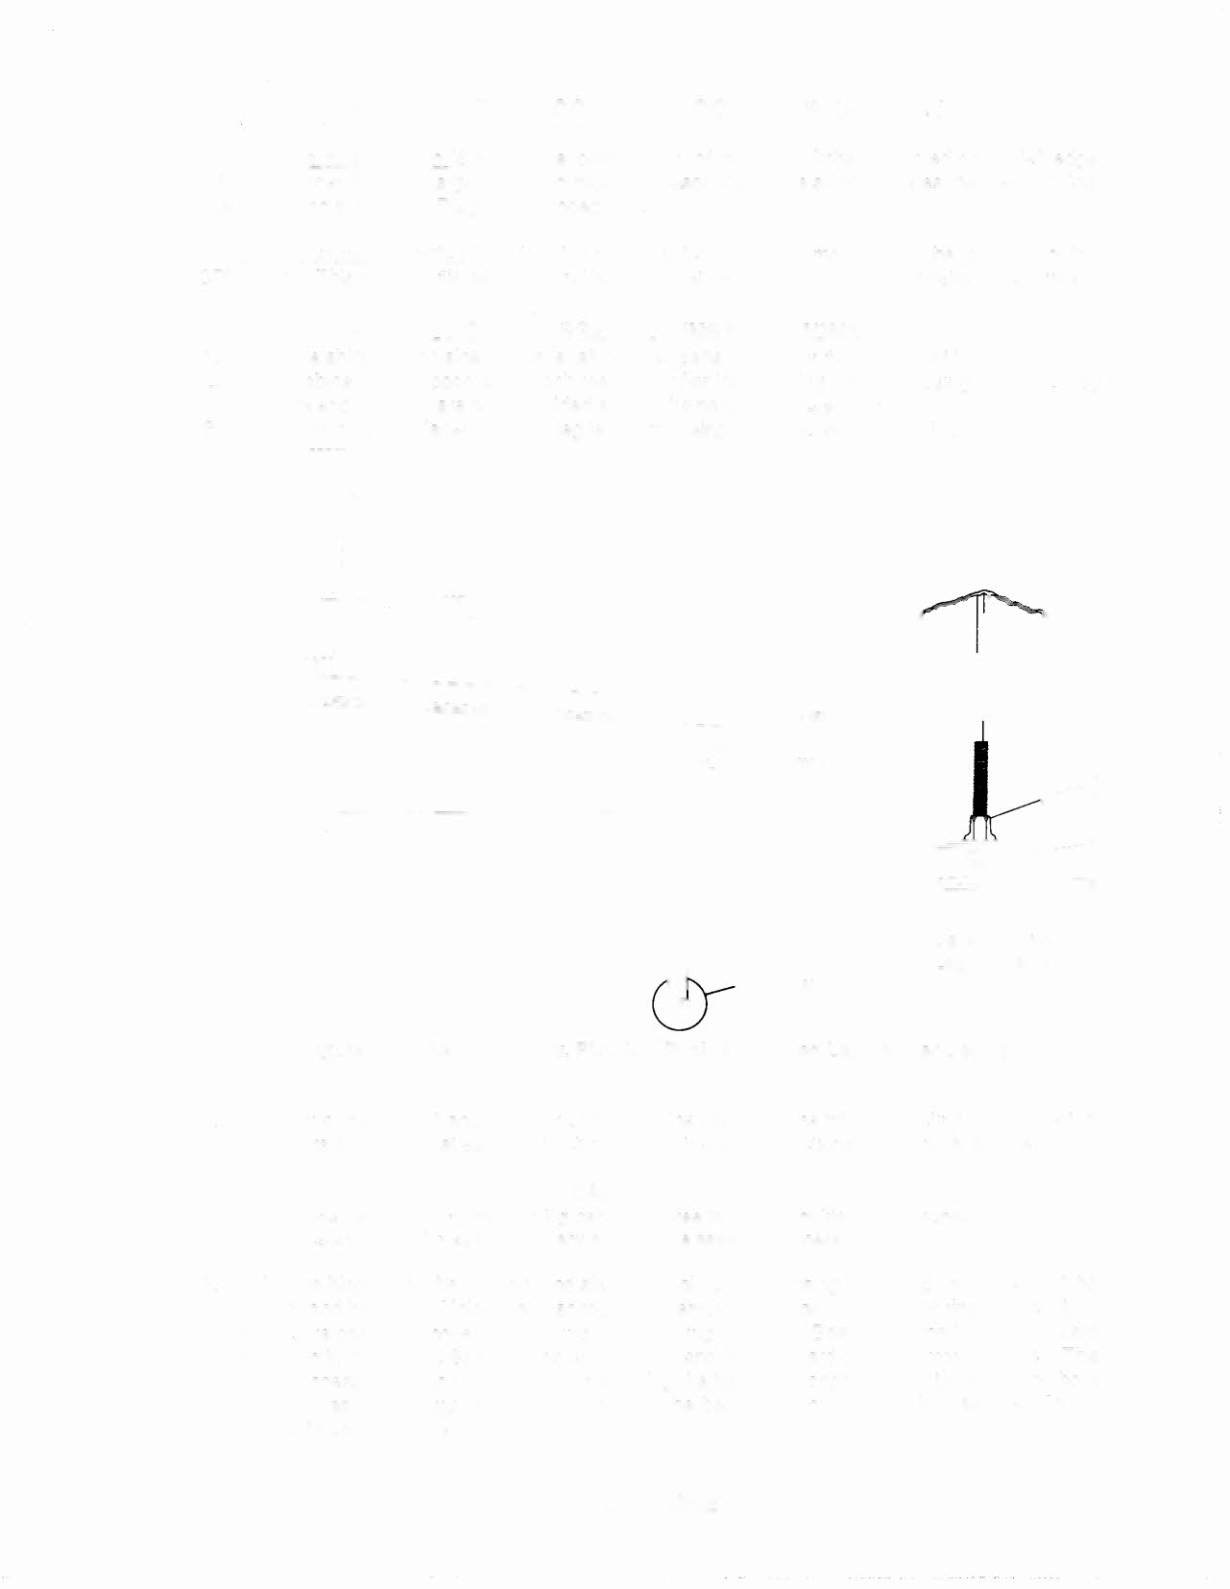
Attach the front legs (after installing leg levellers), using leg bolts. See Figure
1
for details.
r-----------
,
'
I
,
!~
, , ,
,,
,
I
,
,
I
i----I_J
II
.--0·. LEVEL
APPROXIMATE
PLAYFIELD PITCH
LEG
LEVELER
~
NUT
LEVELER
FOOT PAD
Detail View-
Leg Leveler
SEE DETAIL
VIEW
b--_
---======---
20
Figure 1. Pinball Assembly, Playfield Pitch Angle, and Leg Leveler Details.
4.
Reach into the cabinet and backbox and check the mating of the interconnecting cables, match-
ing several wire colors at each connector. Ensure that all connections are properly secure.
©&'Il1J1f'Il@[NI
Ensure that the interconnecting cables are free to move (not kinked or pinched). Be
careful not to damage wires at any stage of the assembly process.
5. Raise the hinged backbox upright and stabilize it into position, using the clamp on the back of the
cabinet and backbox. Unlock the backbox, and remove the backbox glass, storing it carefully to
avoid scratches. Remove the shipping block holding the Insert Board. Unlatch the Insert Board
and open it, then lift the Speaker/Display Panel up and lay it forward on the playfield cabinet. This
allows access to the bolt holes used for securing the backbox upright. Install the mounting bolts
and flat washers through the bottom holes of the backbox into the threaded fasteners in the
cabinet to secure the backbox.
CYCLONE 3