Basic HTML Version


PINBALL GAME ASSEMBL V INSTRUCTIONS
1. Open the shipping container; remove all cartons, parts, and other items, and set them aside.
2. Place cabinet on a support and attach rear legs, using leg bolts (provided in the cash box).
3. Attach the front legs, using leg bolts.
4. Reach into the cabinet and backbox and check the mating of the interconnecting cables, matching several
wire colors at each connector.
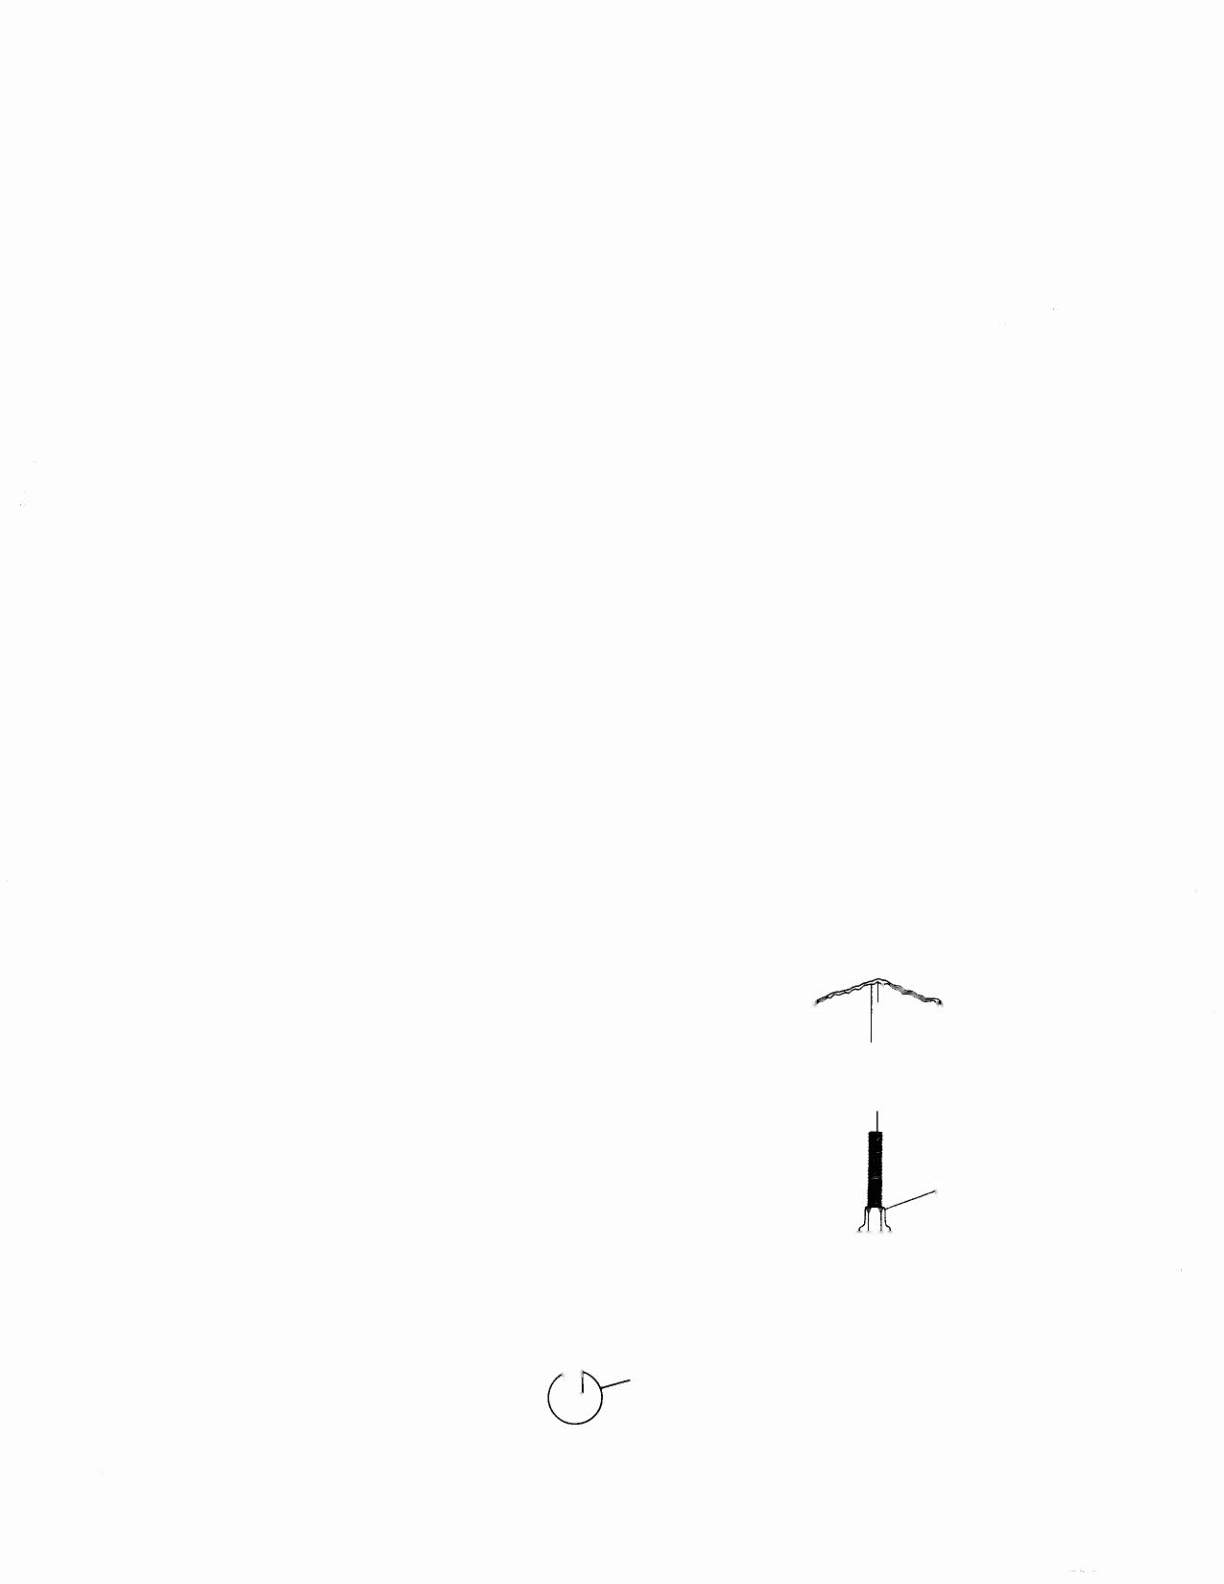
©
&
llDll' 0
(Q)
00
Ensure that the interconnecting cables are free to move (not kinked or pinched). Be
careful not to damage wires at any stage of the assembly.process.
5. Raise the hinged backbox into position. Remove backglass, unlatch and open the Insert Board, and secure
the backbox with mounting bolts through the bottom holes into the threaded fasteners in the cabinet. .
6. Extend the rear leg levelers to approximately
2/3
length below the leg bottom. Remove the cabinet from its
support and place it on the floor.
7. Remove the playfield cover glass to permit accurate measurement of the playfield level and pitch. Level
(side-to-side) the playfield (preferably measured ON the playfield surface), and firmly tighten the nut on each
leg leveler shaft to maintain this level setting, as shown in Figure 1.
8. Adjust the front leg levelers for proper playfield level (side-to-side)
m1!l.
playfield pitch angle (incline) of
approximately 6 degrees. (Again, it is recommended that these measurements be made ON the playfield, not
the cabinet nor the playfield cover glass.) Tighten the nut on each leg leveler shaft to maintain this setting.
©
&
llDll' 0
(Q)
00
Playfield pitch angle adjustments can affect the operation of the ball-roll tilt and the
plumb bob tilt, inside the cabinet. The operator should adjust these tilt mechanisms for
proper operation, after completion of the desired playfield pitch angle setting.
9. Move the game into the desired location; recheck the level and pitch angle of the playfield.
10. Verify that 1r& balls are installed in the game.
11. Clean and re-install the playfield cover glass. Prepare the game for player operation.
,..-----------
I
I
I
I
I
:
~'
I
I
I
.
I
I
I
I
I
I
I
I
I
I
;----t-
J
I [
.--0·. LEVEL
LEG
LEVELER
~
NUT
LEVELER
FOOT PAD
Detail Vlew-
Leg Leveler
SEE DETAIL
VIEW
b=========
O
Figure 1. Pinball Assembly, Playfield Pitch Angle, and Leg Leveler Details.
1S.oa1)
1tngs
3